Getting photos and photographers organized
“Who took the photo at the last football game?”
“Didn’t the photo of the mascot get saved somewhere?”
“What’s the file name for that great photo of the drum major?”
I remember these conversations in my classroom. I remember the frustration. I remember asking advisers and others about ways to keep photos and photographers organized. So here are some tips and tricks I’ve learned, borrowed, stolen and adapted over the years for my classroom – they’ve helped me stay somewhat sane.
Get on Google
Set up photographers on a domain (name@yourdomain.com). We purchased the domain legacystudentmedia.com from GoDaddy. Our students have email addresses that match (lmallett@legacystudentmedia.com). You can also have students share or create their own Gmail accounts and create a group. Having this group allows you to create a master calendar, reminders and more. When the photo editor assigns (or invites) a photographer to an event, that photographer will receive an email and reminder.
Photo Assignments
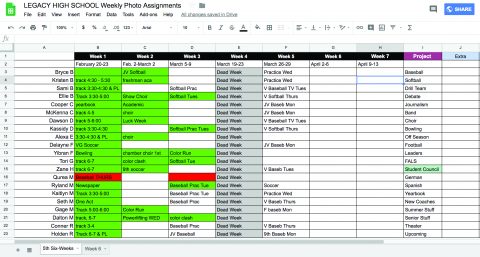
 Every Monday, photo editors have the master Google calendar on the screen as students enter the room and then give out photo assignments. We treat it like a job. When a photographer agrees to photograph an event, the editor will assign him/her to the event and add their assignment to our master photo schedule.
Review the Basics
I’m always amazed what students forget. I can’t assume they remember what we learned last year. It’s important to always reteach the basics: rule of thirds, framing, angles, etc. Showing students good photos and displaying great photos around your classroom also reinforces what kind of photos you’re looking for. Trade photos with an adviser friend to show your students what other schools are doing. Look at award winners from NSPA, CSPA, state organizations, Walsworth’s contests and professionals.
Get Epic
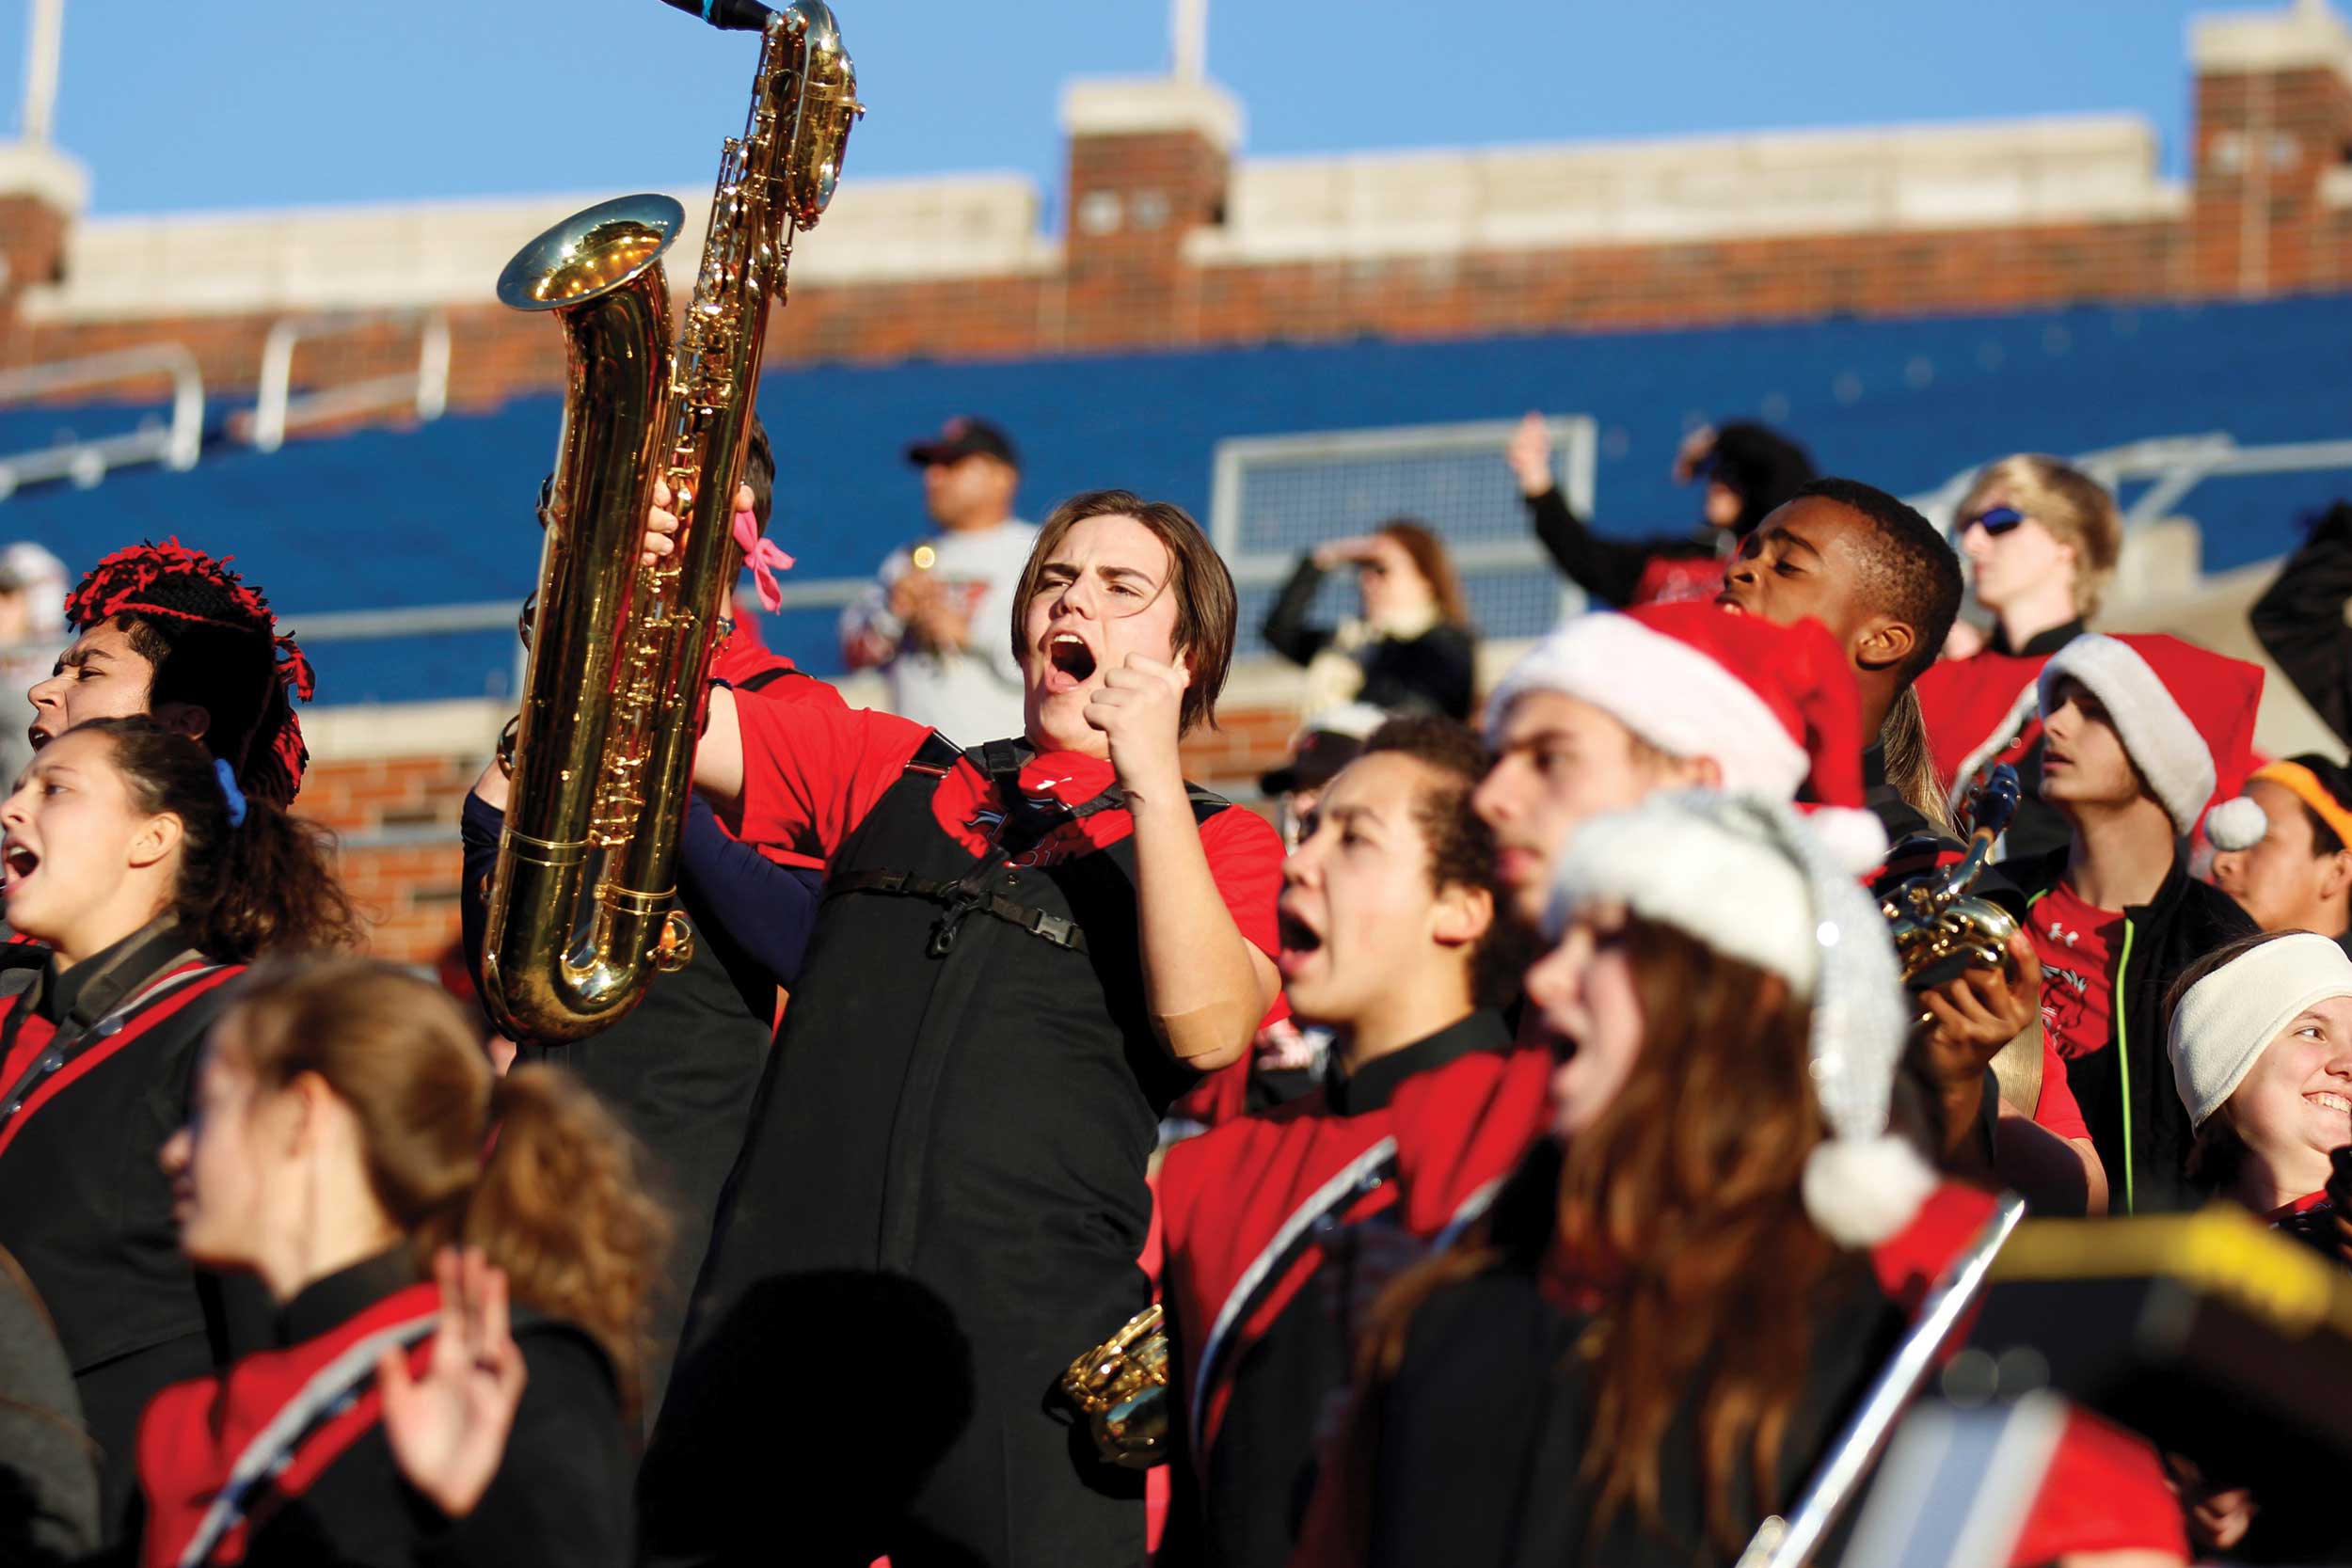
I have a saying before students leave for a photo assignment: “Get Epic.” I tell them to find photos I haven’t seen before. Take me where I’ve never been. Show me emotions and relationships. Cover the same high school events in a different way. We look at the last few yearbooks to see what’s already been done. Then we strive for new photo coverage.
On Assignment
I think it’s important to have hands-on instruction with new photographers in the field. I have all new photographers work with me at a freshman game. It’s always good to make sure the photographer understands the game as well as his/her camera. This field time allows for both. Walking a photographer through the thought process during the game is better than any PowerPoint you can show in class. We keep a cheat sheet of basic settings for each sport in camera bags for the next time.
Uploading and Saving to the Server/File Names
Once the photo assignment is completed and the photographer returns to the journalism room, the second phase begins. I’ve learned that it doesn’t matter how you organize photos on a server – just have a method and stick to it. I thoroughly check the process the first six weeks and demonstrate multiple times. Editors will also walk each new photographer through the process two or three times. Yes, it’s that important.
We use Mark Murray’s Steps to Editing (www.atpi.org/murray). Each photo must be touched up before saving to the server. It’s important that everyone in the program – yearbook, photo, broadcast, newspaper – knows the naming convention. We use “event_extrainfo_date_photographer” for each photo. The photo editor creates folders on the server for all events. Within each folder, the photo editor will also move the best photos to a “best” folder. This makes it easier for yearbook and other publication staff members to find good photos. Only photo editors can move or delete photos once they are on the server. This helps with missing links.
No photo is saved more than once. For example, if a photographer is at a football game and takes photos of the cheerleaders, the file name (because of batch renaming in Bridge) will most likely be “VarsityFootball_LakeRidge_9-6_SethMiller”. However, the photographer will move the photo to the cheer folder.

Work Flow
We use Bridge for most of our workflow. Students upload from the camera to a folder on a desktop in the computer lab. This also serves as backup if the server goes down. The photographers will use Bridge to delete photos and batch rename them. Then the photos are moved to the server according to what others will look for. Band saves to Band. Drill Team saves to Drill Team.
Grading Photo Assignments
Each week, students must email me three of their best photos. I only do grades on Sunday because, like all of us, I hate grades. I will critique their photos in a reply and save them to a folder. I show the class on Monday what was turned in for grades, and we do a quick critique with the whole class. The emails are saved in a folder in my Gmail account in case I miss a grade or need to go back for some reason to find a photo. I have the student enter the week number of the six-week grading period in the subject line of the email.
Sell and Promote your Photos
If you’re like us at Legacy, we have a lot of photos that never run in a publication. We upload photos to SmugMug to sell. If you have a paid membership, you have many options on products, permissions, watermarks and pricing. We’ve learned it’s a constant promotion on social media to guide students and parents to the online store.
Again, it doesn’t matter your method of organizing your students’ photos, it just matters that you have a method. Get epic!
Tag:Picture This


