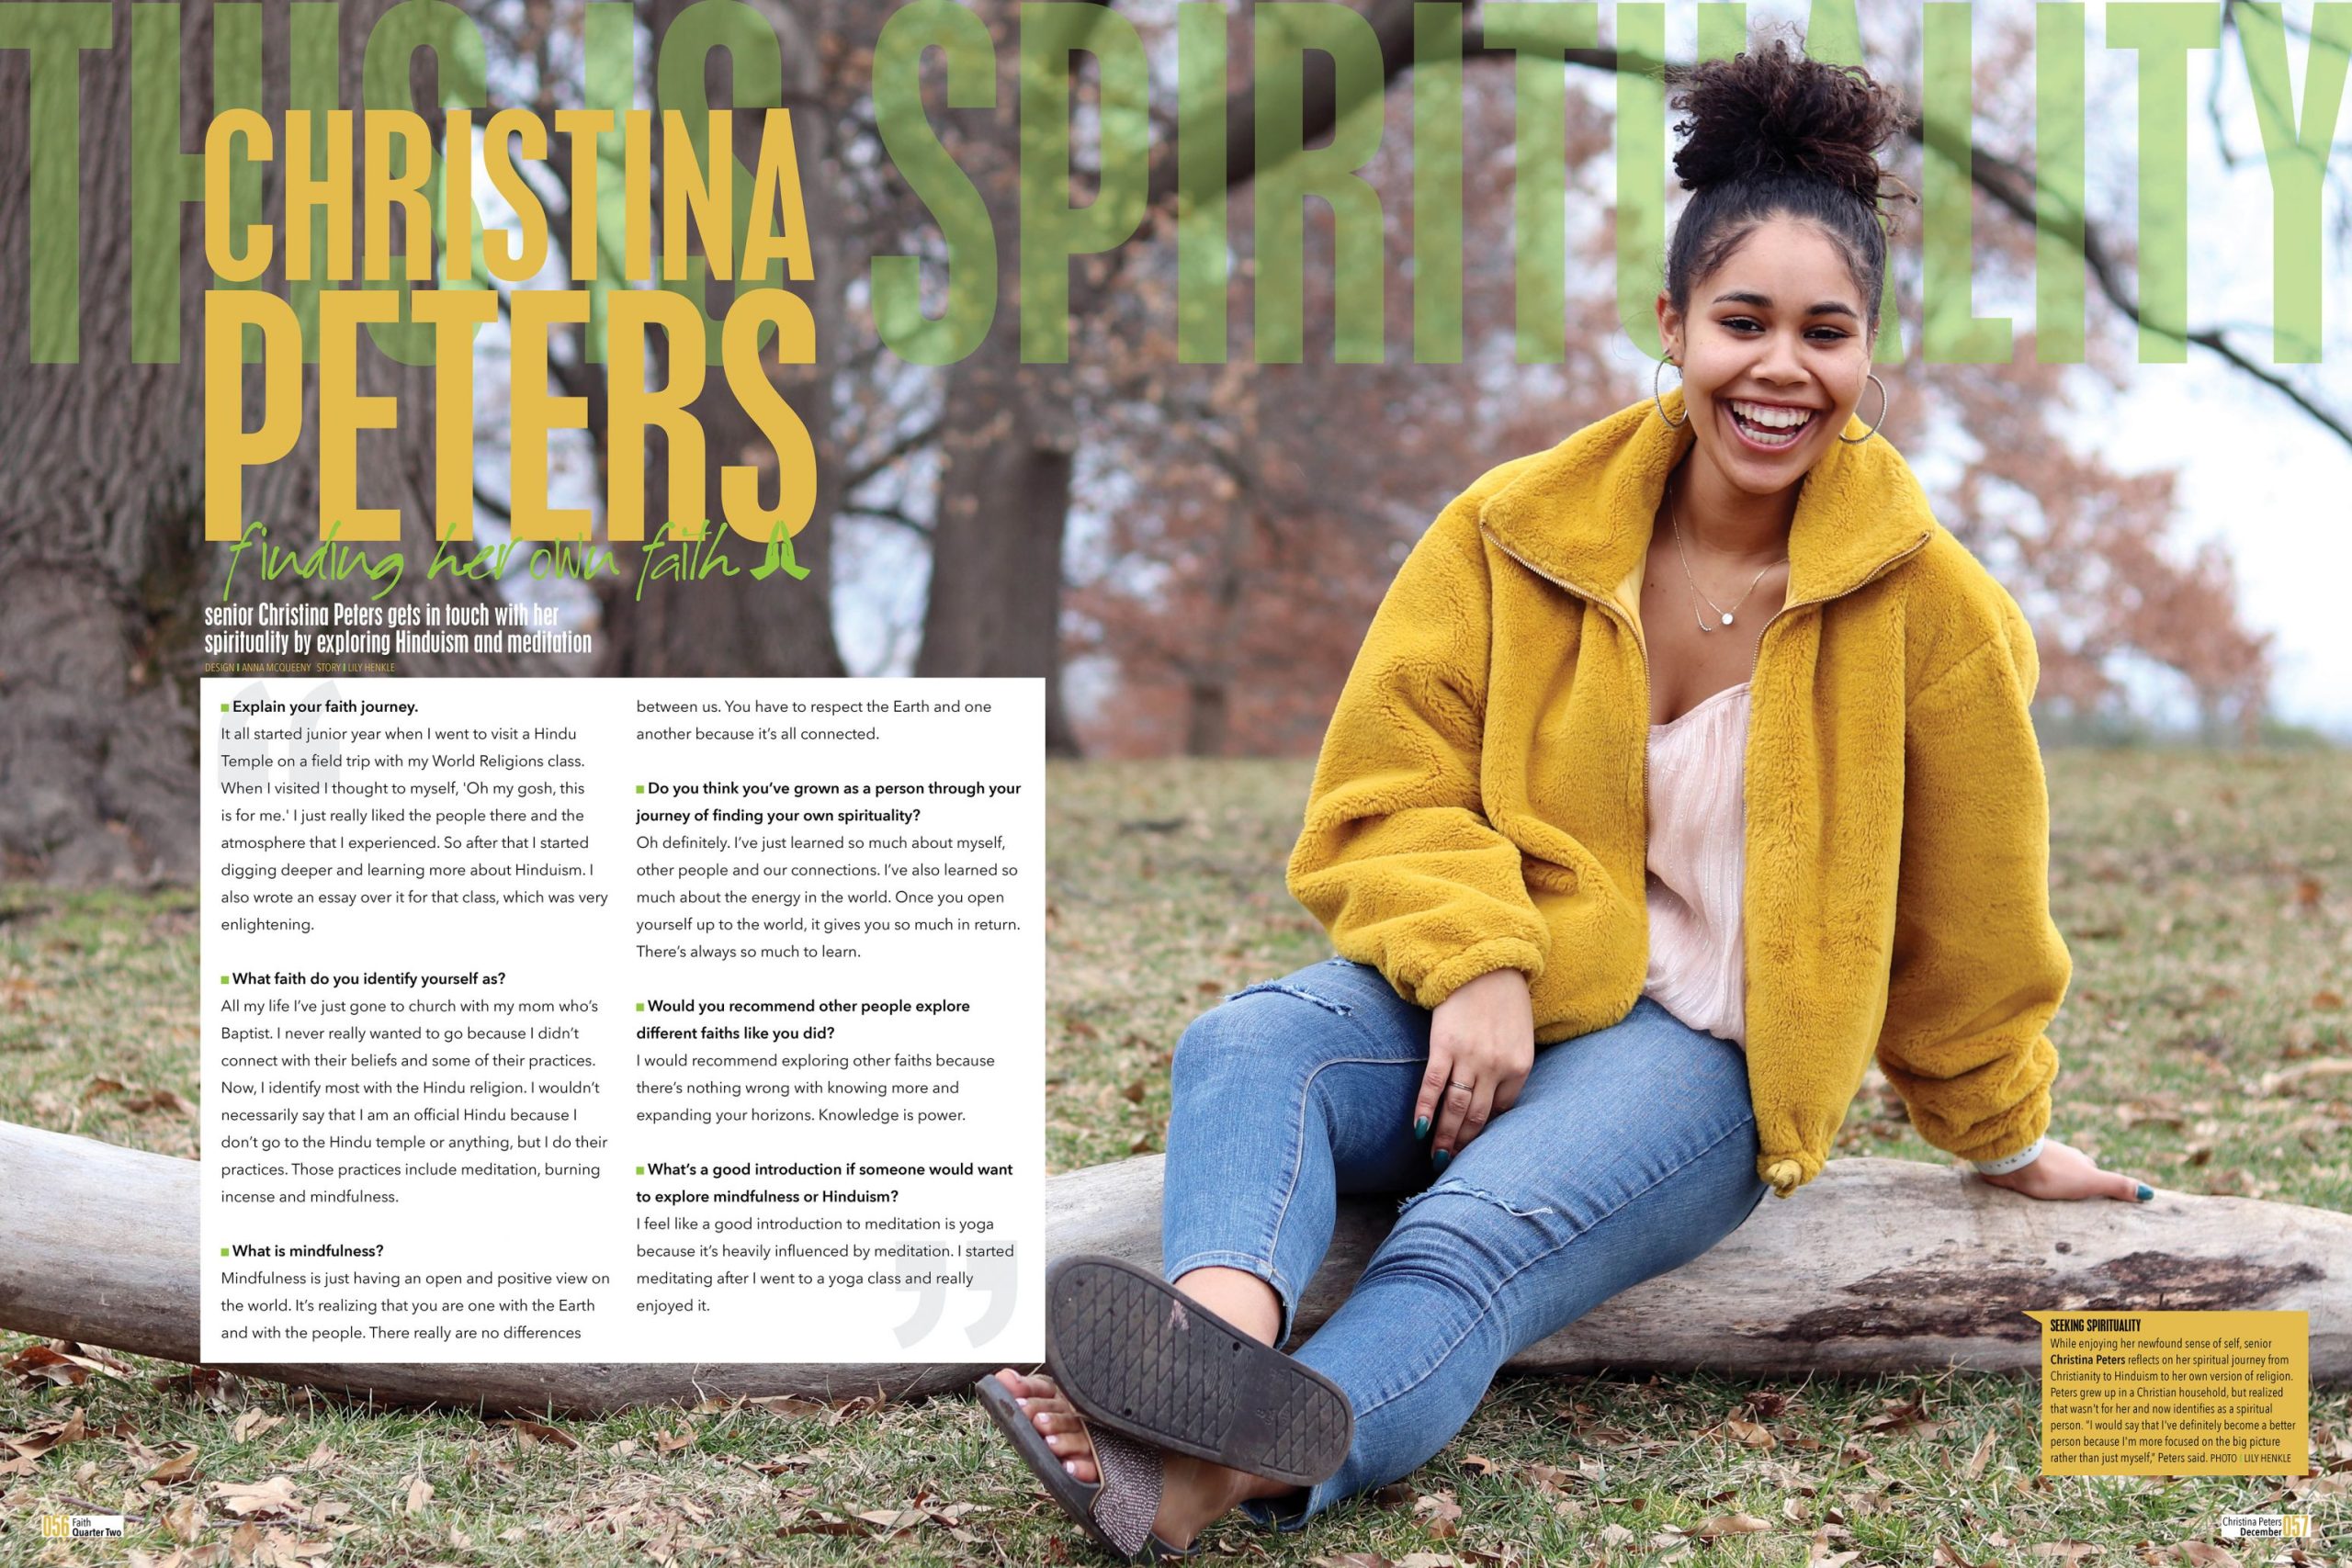
Everybody Has a Story – Tell it in a Profile
Are you wondering how you’re going to fill your yearbook pages during this crazy pandemic? What can you put on all the spreads that normally would be filled with hundreds of school events and activities?
It’s easy.
Tell the stories of the people in your school community with individual profiles.
All you need to do is connect with your students, your staff and administration and you will find that they are your greatest resource. Talk to people and you will discover that each person has an important story that needs to be told.
Maybe that doesn’t sound so easy, so here are some steps to make it easier as you start creating these profiles and telling the stories of your students and staff.
Step 1 – Communicate with your school community. Let them know you want to tell their stories.
Start the process of finding subjects for your profile by communicating with your entire school community about what you are looking for. Let them know that you are wanting to connect with as many members of the school community as possible and tell their unique stories. Also have them share possible story ideas about the people they know well. Talk directly to counselors, the AVID teachers, department chairs, and anyone who is in the know about the people at your school.
Step 2 – Decide on how and where in the book you want to tell these stories.
Over the past 20 years individual profiles have become a major part of yearbook coverage plans. Depending on the depth and focus of the story you want to tell about that person, the size and scope of the profile will vary. Think about this before you interview your subject. Develop your plan for where you want to place your profiles first. But be ready to adjust based on the stories you find.
Here are some places to consider placing your profiles:
Class portrait/photo section profiles
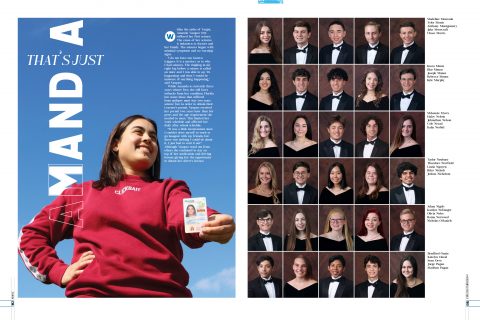
The most common place to put your profiles are in the individual class photo section. The size and placement will depend on the scope of each profile and the placement of your photo panels.
Short profiles near photo panels
These shorter profiles are easier to get and the length of the text can vary.
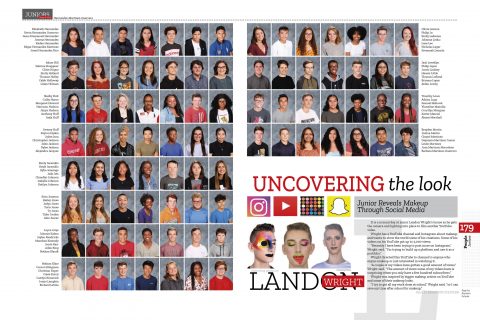
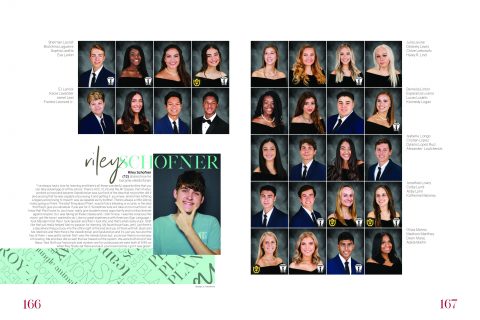
One-page profile next to full page of class photos
Length of the profile will vary depending on the photo and type treatment.
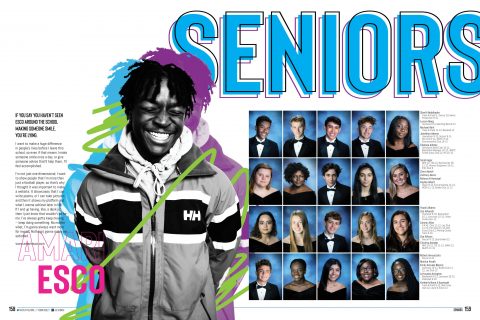
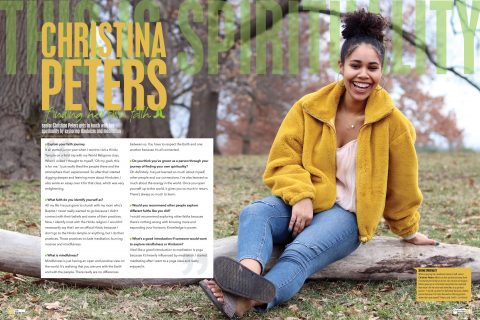
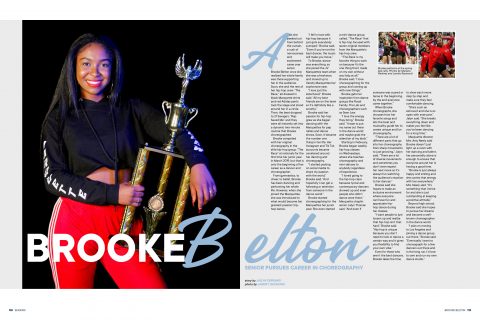
Single profile on double-page spread
Some stories are so important they need to be told in a double-page spread.
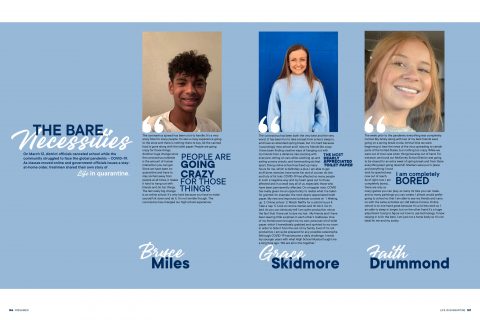
Multiple profiles on a double-page spread
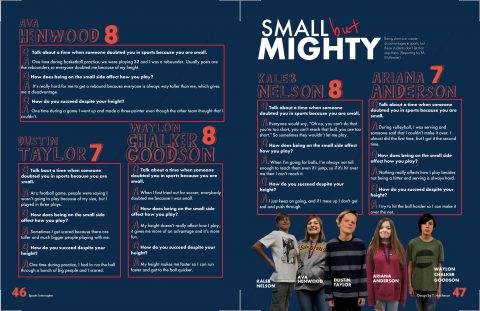
Another approach allowing more profile coverage is to have multiple profiles on a single double-page spread.
Profiles in a profile section
One exciting new possibility would be to create a stand-alone Profile Section and group all the profiles in one place. If you are at a smaller school with under a 100 seniors it might be fun to try to give a profile to every senior. An added benefit would be that this could increase your sales significantly.
Step 3 – Make the personal connection
This can be a challenge in this pandemic era to make a direct connection with a person, but work to meet them face-to-face in a Zoom call or with whatever platform you are using. By avoiding only using written questionnaires and texting, you will get richer, more in-depth information.
Step 4 – Have a conversation
Once you have contact info for a subject, don’t get worried that it’s a formal “interview.” Think of it as having a relaxed conversation with a friend. Come in with lots of prewritten questions, but be flexible and let the conversation go where it takes you. The best information will usually come from unexpected places. Always start with the idea that everyone has a unique story to tell. All you have to do is find it, and then tell it to your audience.
Here are the BIG FOUR Questions I use to get the conversation going.
- What are you most passionate about?
- What do you like to do most in your spare time?
- What is something interesting about you that few people know?
- What have you had to overcome?
Step 5 – Find the focus
As you talk with your subject, undoubtedly you will find many interesting facts about them, but remember it’s best when stories have a clear focus. The best stories are ones that go deep on one topic and don’t try to cover too much.
Instead of focusing on someone’s love of sports for example, focus on the reasons why they are passionate about soccer, or focus even more on one game or moment that had meaning for them.
Step 6 – Decide what format will work best
Early in the process you may have had an idea of the length and format you wanted to use to tell these stories, but in your conversation with your subject you may discover that another format might be even better to tell the story. Don’t be afraid to change course to get the story just right.
Step 7 – Create a model
Once you get one profile completed that demonstrates what you are looking for, use it as a model so the rest of the staff will know exactly what the end product should look like. Too often we make assignments without really knowing what we want which can be frustrating to the staff. Model for them what you want them to do.
Step 8 – Discover the unknown stories of the people in your school community
Ultimately the best yearbooks focus on the stories of people. Make 2021 the year where you fill you pages with as many of those stories as you can.
Tag:Student Profiles

